If you are the owner or administrator of a new OneTapConnect Team Plan, this article is intended to help you complete the necessary steps to set up your company's account.
The information saved to your Company Information and user profiles is what enables our design team to create your company's first microsite design Template.
If you have a company website, that may be enough for our design team to get started. If you do not have a company website, please complete your Company Information and first user profiles to the best of your ability. The more information you include, the more our team of professional designers will have to design your company's first microsites.
You may also send additional resources and microsite design requests to our team at support@onetapconnect.com.
Step 1: Complete your company profile.
- Log in to your OneTapConnect account dashboard.
- Go to Company Information if not automatically redirected.
- Complete the General, About, Branding, and Lead Capture forms using the resources and information you have available.
If there is any specific Company Information that should be personalized for different users, enable the to Allow users to personalize this field? for that specific field. This will enable you to effectively override Company Information on any user/microsite profile(s) as needed.
For more information on how to personalize information, see How to personalize Company Information on a microsite-by-microsite basis.

Step 2: Complete your user profile
- Go to My Card, then click Edit Profile Information if not automatically redirected.
- Complete the Contact Information, About, and Lead Capture forms using the resources and information you have available.
Step 3: Wait for email confirmation that your microsite is ready for review
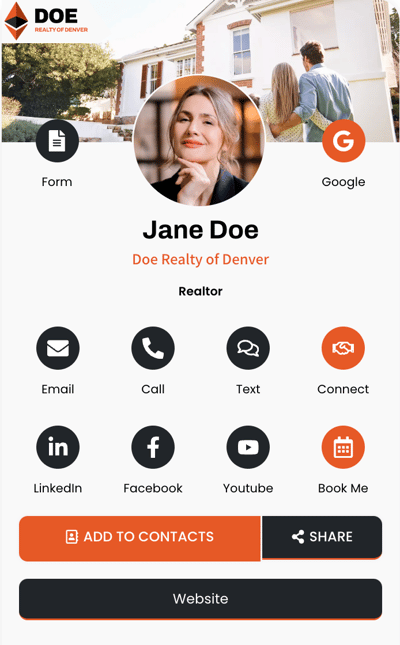
Our team of designers will use everything you've saved to your Company Information and first user profiles to create your company's first microsite design Template.
We'll let you know as soon as it's done!
Step 4: Invite your team members
If you are the owner, administrator, or manager of your company's OneTapConnect account, you can manage every aspect of your company's users and microsite information on your account dashboard.
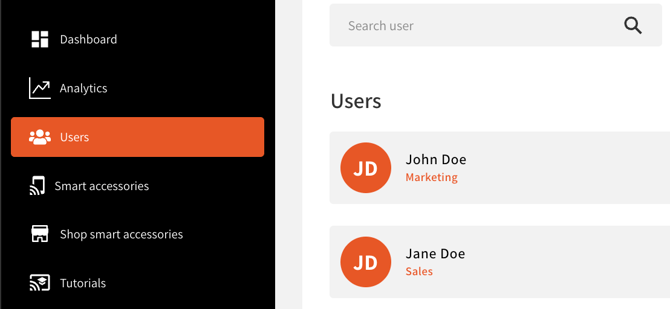
How to add users to your company's account
- Log in to your OneTapConnect account dashboard.
- Go to Users.
- Click + Add new user(s), then select one of the following options:
- Email invitation: Invite a user to join your team by email.
- Manually: Create a new user by inputting that user's contact information.
- Import from CSV: Invite multiple users at once using a comma-separated values (CSV) file.
- Ask invited and manually added users to accept their email invitations and create their accounts to become active users.
- Give physical near field communication (NFC) Smart Accessories to active users so they can activate their own Smart Accessories using the OneTapConnect mobile app.
For more information on how to manage the users on your company's account, see How to add or deactivate users.

Step 5: Connect your Smart Accessories
You will need to download the OneTapConnect mobile app using the appropriate link below to get started:
- iPhone users: Get it on the Apple App Store
- Android users: Get it on the Google Play Store
For more information on installing and logging in to the app, see How to install and log in to the OneTapConnect mobile app.
So long as a user has an active status on the Users page, that user can:
- Download and log in to the OneTapConnect mobile app
- Activate their own NFC Smart Accessories using the OneTapConnect mobile app
- Watch the OneTapConnect Basics training video on the homepage of the mobile app
- Get started using their new OneTapConnect microsite immediately!
After your users have activated their own Smart Accessories, you'll be able to see who is assigned to which physical items on the Smart Accessories page of your account dashboard. This will enable you to deactivate or reassign Smart Accessories as needed.
For more information on connecting your Smart Accessories, see How to activate your NFC Smart accessories.
For more information on using NFC Smart Accessories, see How to use OneTapConnect Smart Accessories.
Step 6: Training
Onboarding training and ongoing design services are included in the cost of your subscription.
We will invite you to join us for an onboarding call once your microsite design is ready for your review!
Account management information can also be found in the OneTapConnect Help Center.
For an overview and resource guide for administrators of Team Plans, see How to manage your company's OneTapConnect account.
For general account and platform support, please contact our team at support@onetapconnect.com.